

Wood Connection Guest Post & Giveaway Part II
This contest is closed. Congrats to our winner: Jordan Page!
Hello Everyone, I’ve been absent from blogging for quite some time but am reappearing for a moment to show you another fun idea using supplies from my favorite wood crafting store! You may remember this post where I showed you a few fun tutorials. I wanted to expand on that idea and show you a couple of new ways to use these small wooden labels as well as a few new ideas to go along with it.
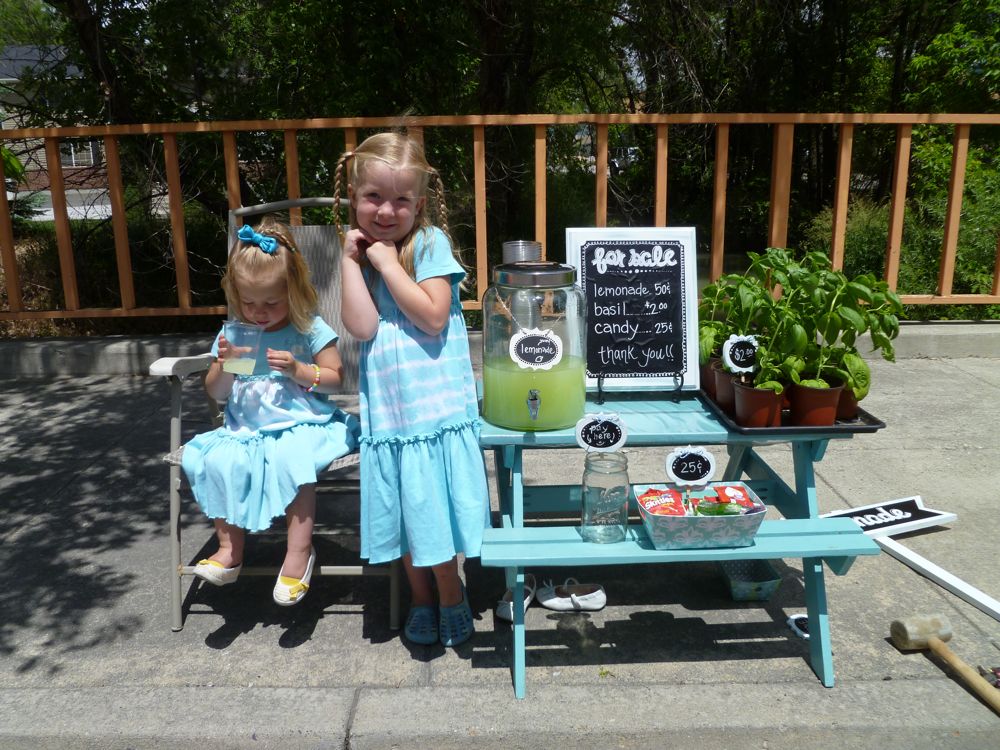
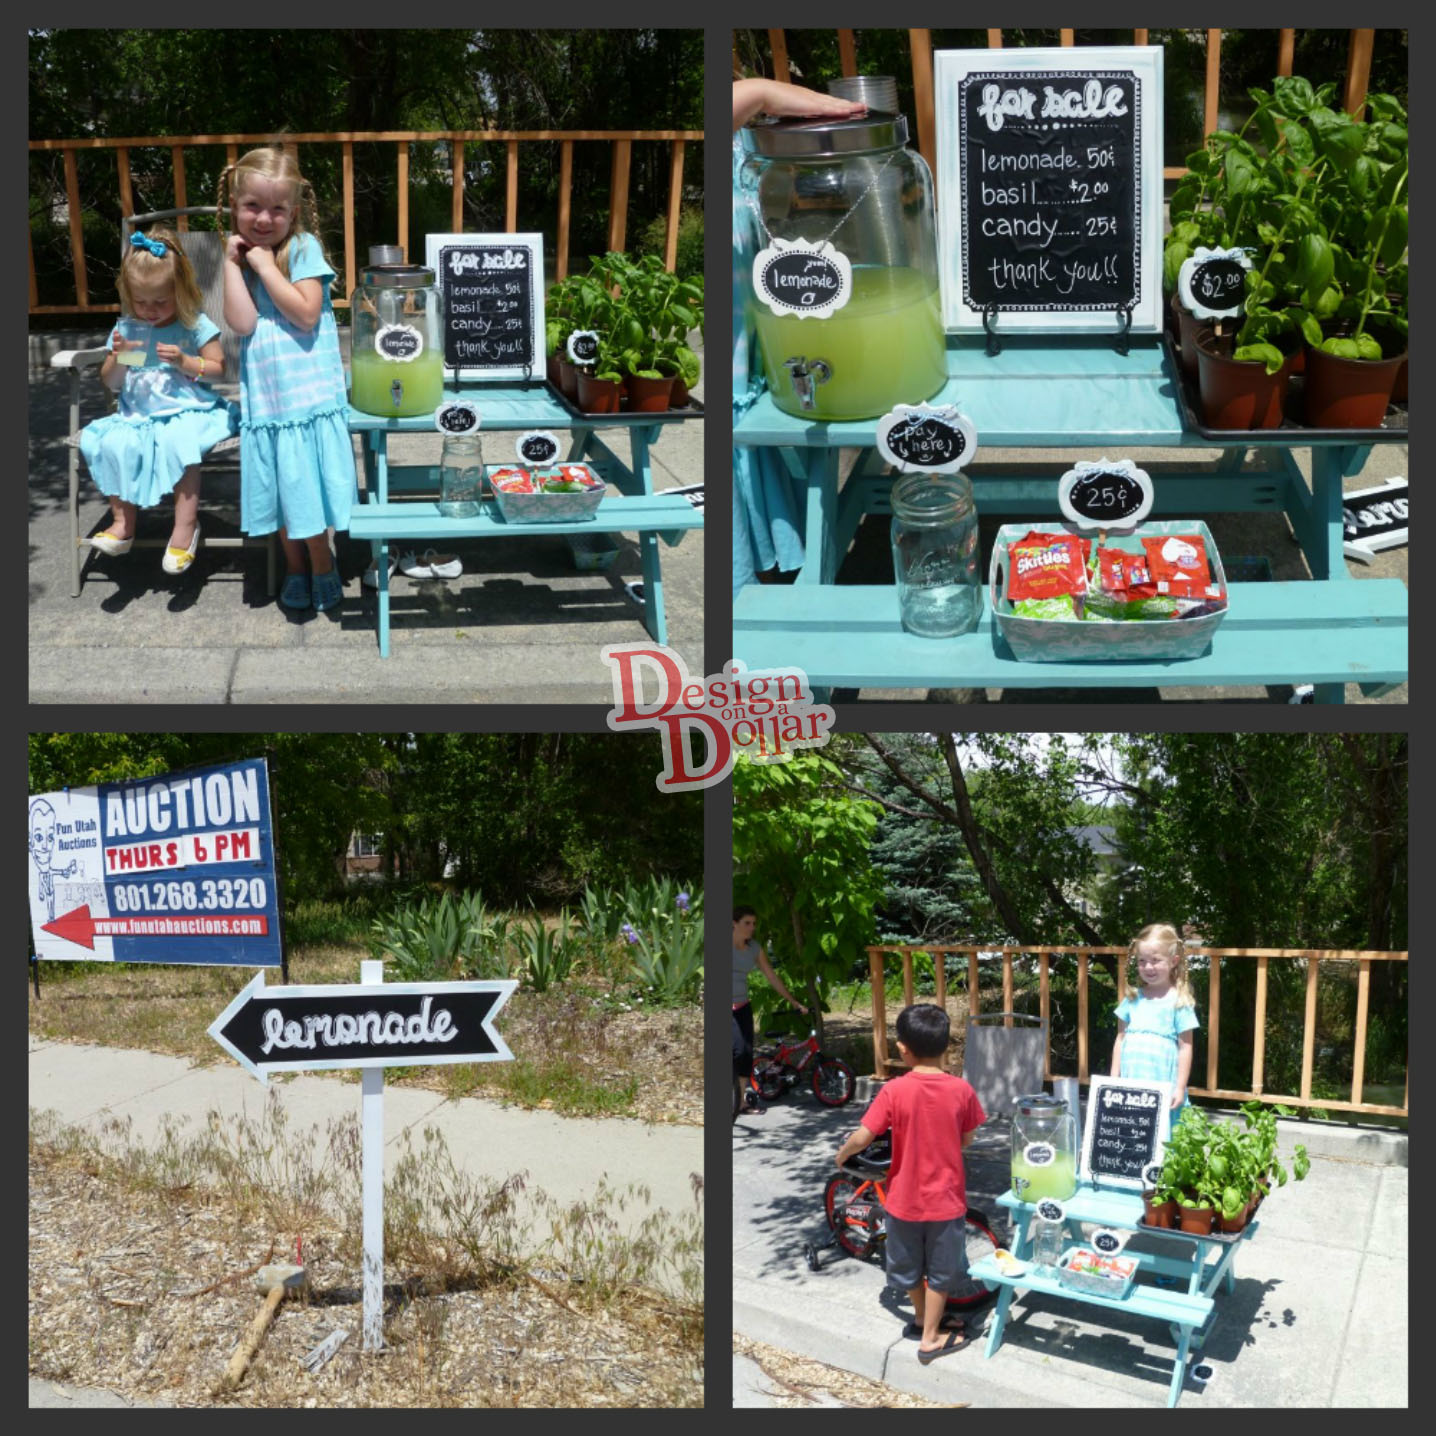
I know I should get more creative, but I love using these as chalkboard labels! I’ve been wanting a fun way to label food when I am entertaining and have seen LOTS of cute ideas out there, but was still coming short on the perfect fit. I wanted something that I could use without ANY preparation (who has time to think about these details when you have the food prep to worry about!) and would still be cute and versatile for a number of settings. That’s where the idea for these little beauties came in….a white base that will go with everything and chalkboard vinyl so that I can label them and re-label them with ease…no printing to worry about. Attach a clothespin to the back and you can clip them to ANY dish…bowl, plate, jar etc. Perfect. Then, I thought it would be fun to add a menu board to show what is being served, give instructions for food assembly, pricing, etc. Since I am showcasing the finished projects in the form of a lemonade stand (my daughter has been BEGGING me), I had to throw in a sign too 🙂
Here is a supply list:
11/14 board with beveled edges
clothespins (they carry small ones that are perfect)
small wooden labels, you choose the shape you like–since they come with a 1 or 2 hole option, I opted for the 2 hole labels and strung some twine through them to hide the holes and add some character
sign and post
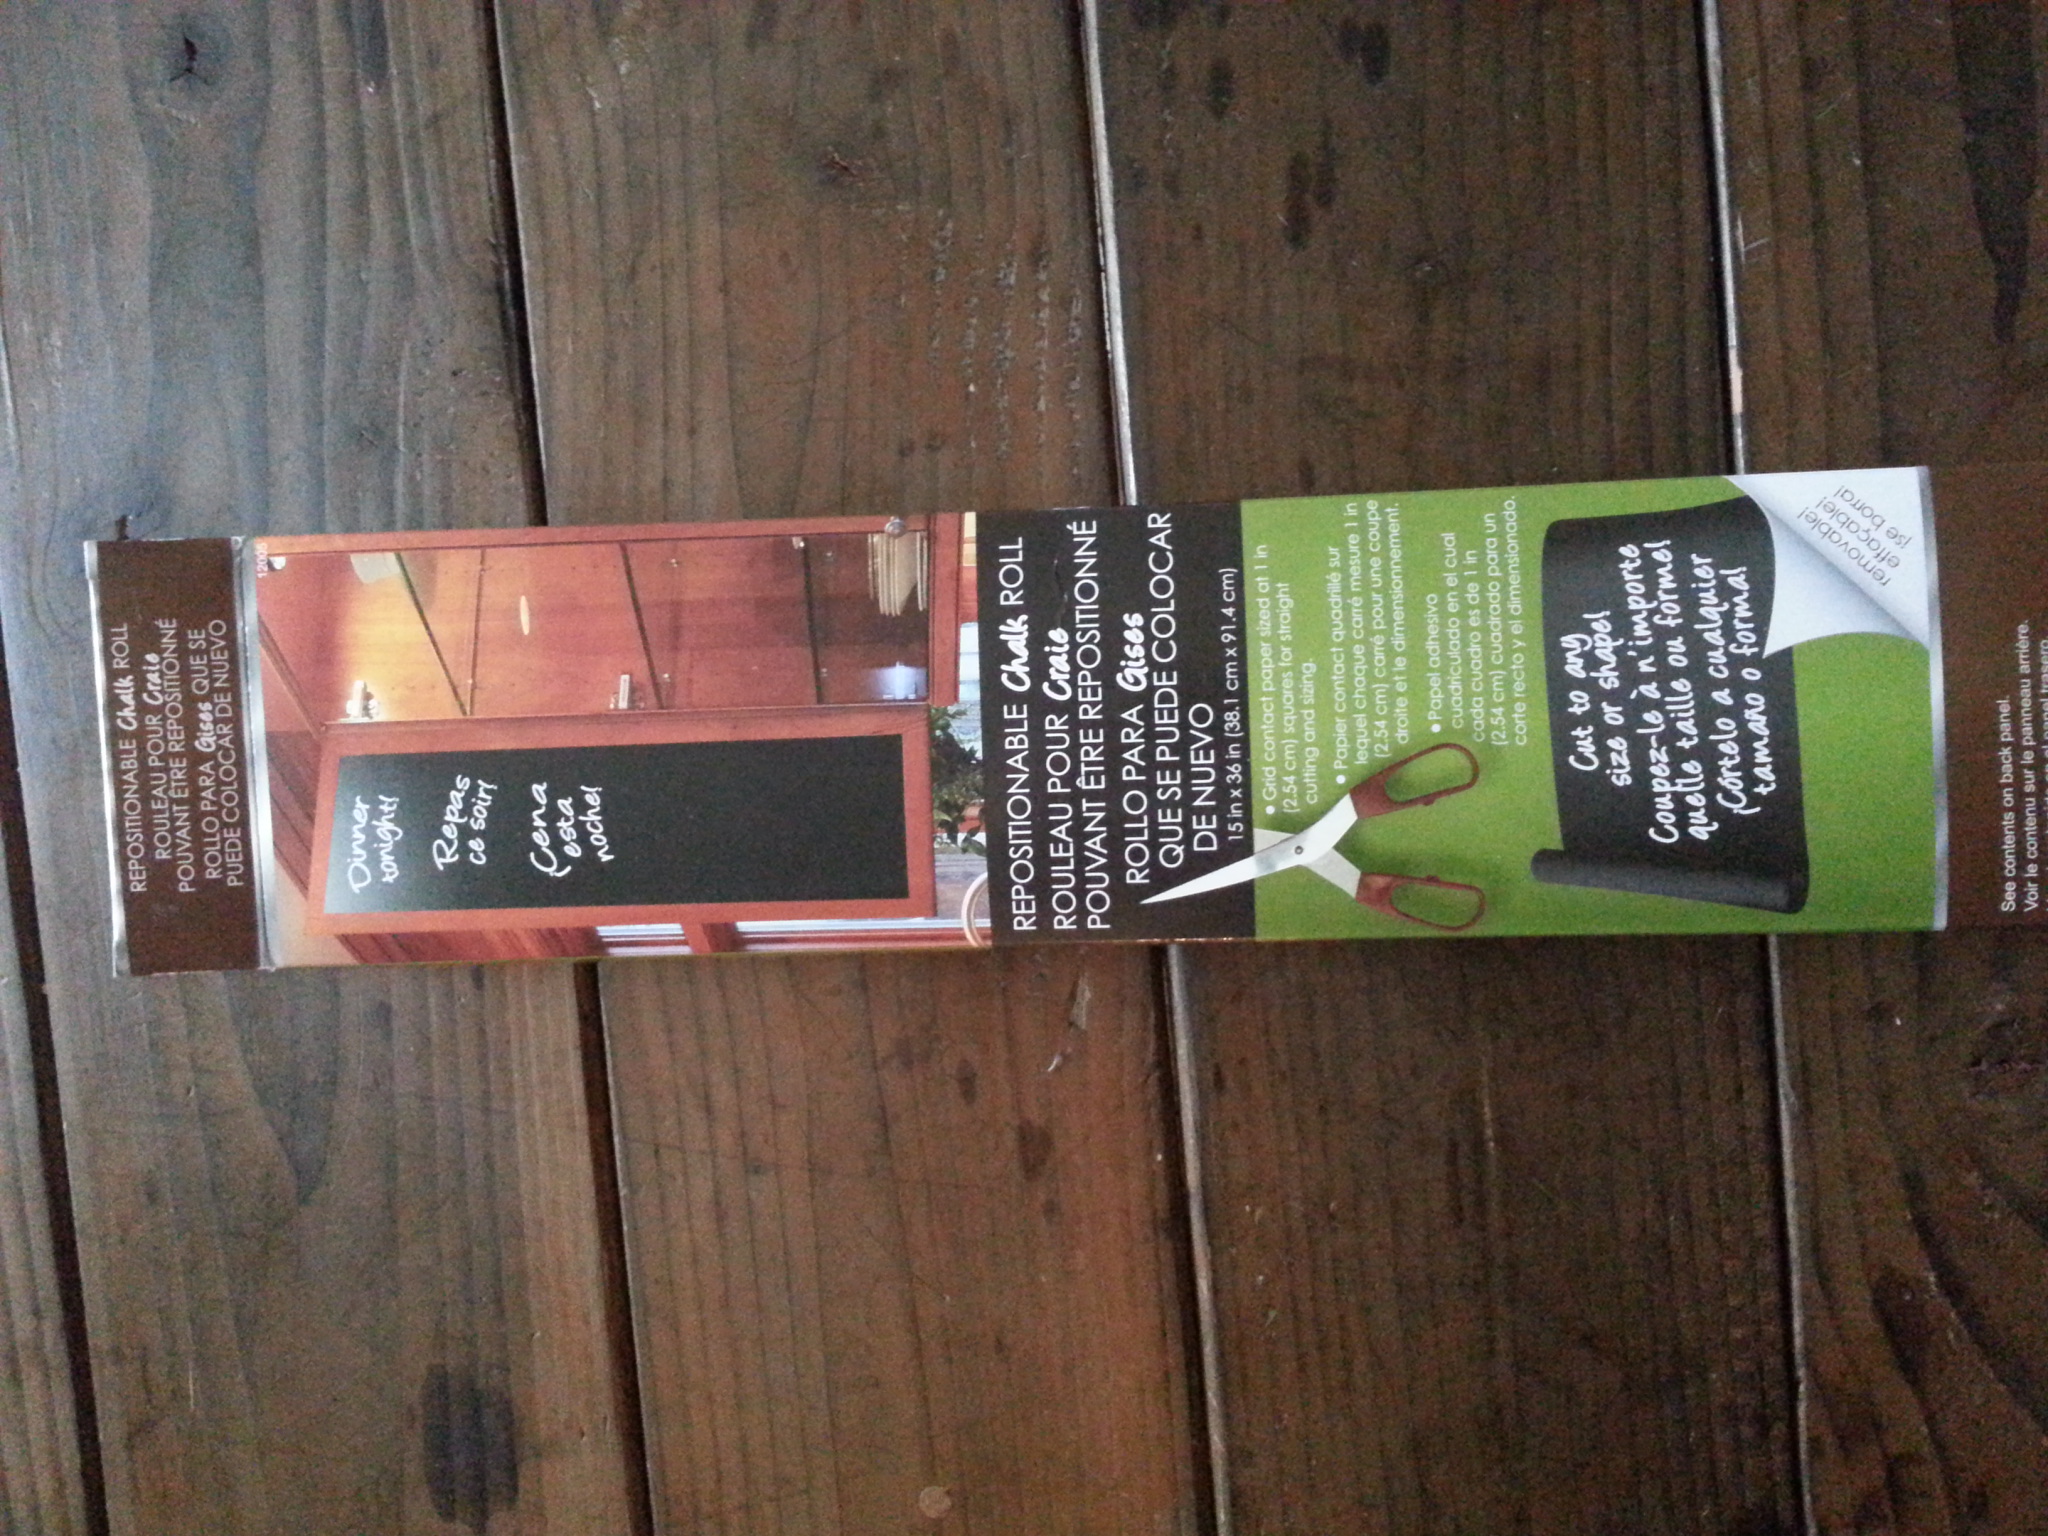
chalkboard contact paper (from Michael’s, works out to about $5.00 with 50% off coupon) note: I found that the chalkboard contact paper tends to bubble up in the hot sun or when exposed to heat. Another option would be chalkboard vinyl sold at Regional Supply in Salt Lake City
two paint colors, choose what you like
sandpaper or block
Uchida Bistro Chalk Marker (Hobby Lobby, or Michael’s)…I far prefer these over regular chalk
Step 1: Paint Base Color, I chose a pretty seagreen-ish color that I had on hand
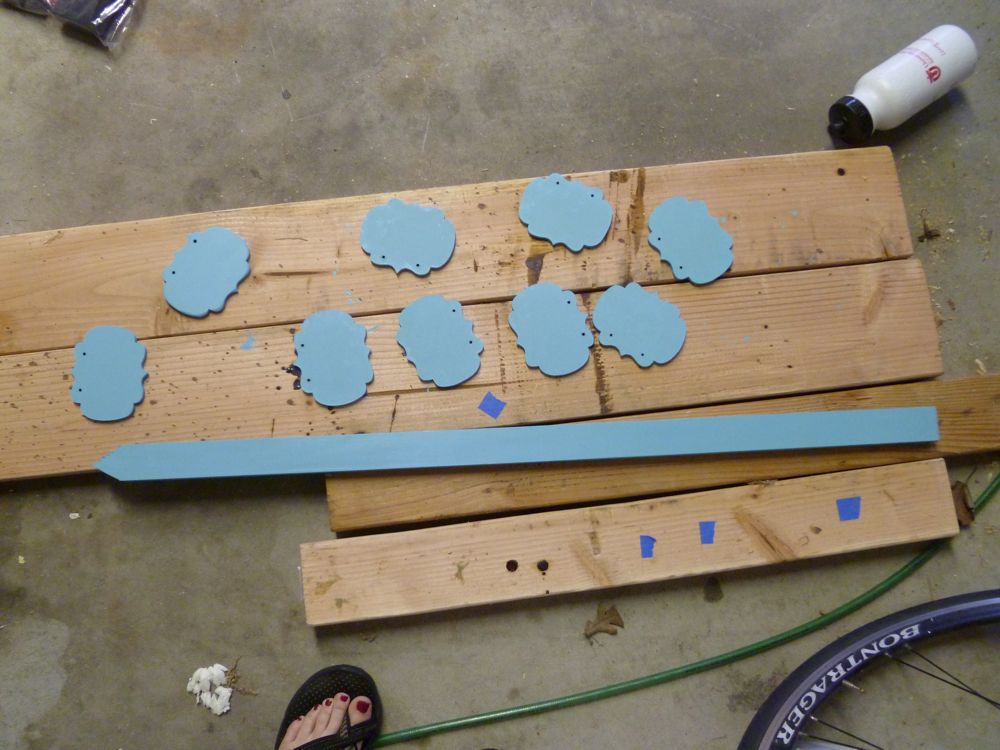
Step 2: Paint Main Color, I did mine in white because of it’s versatility and my white dish set
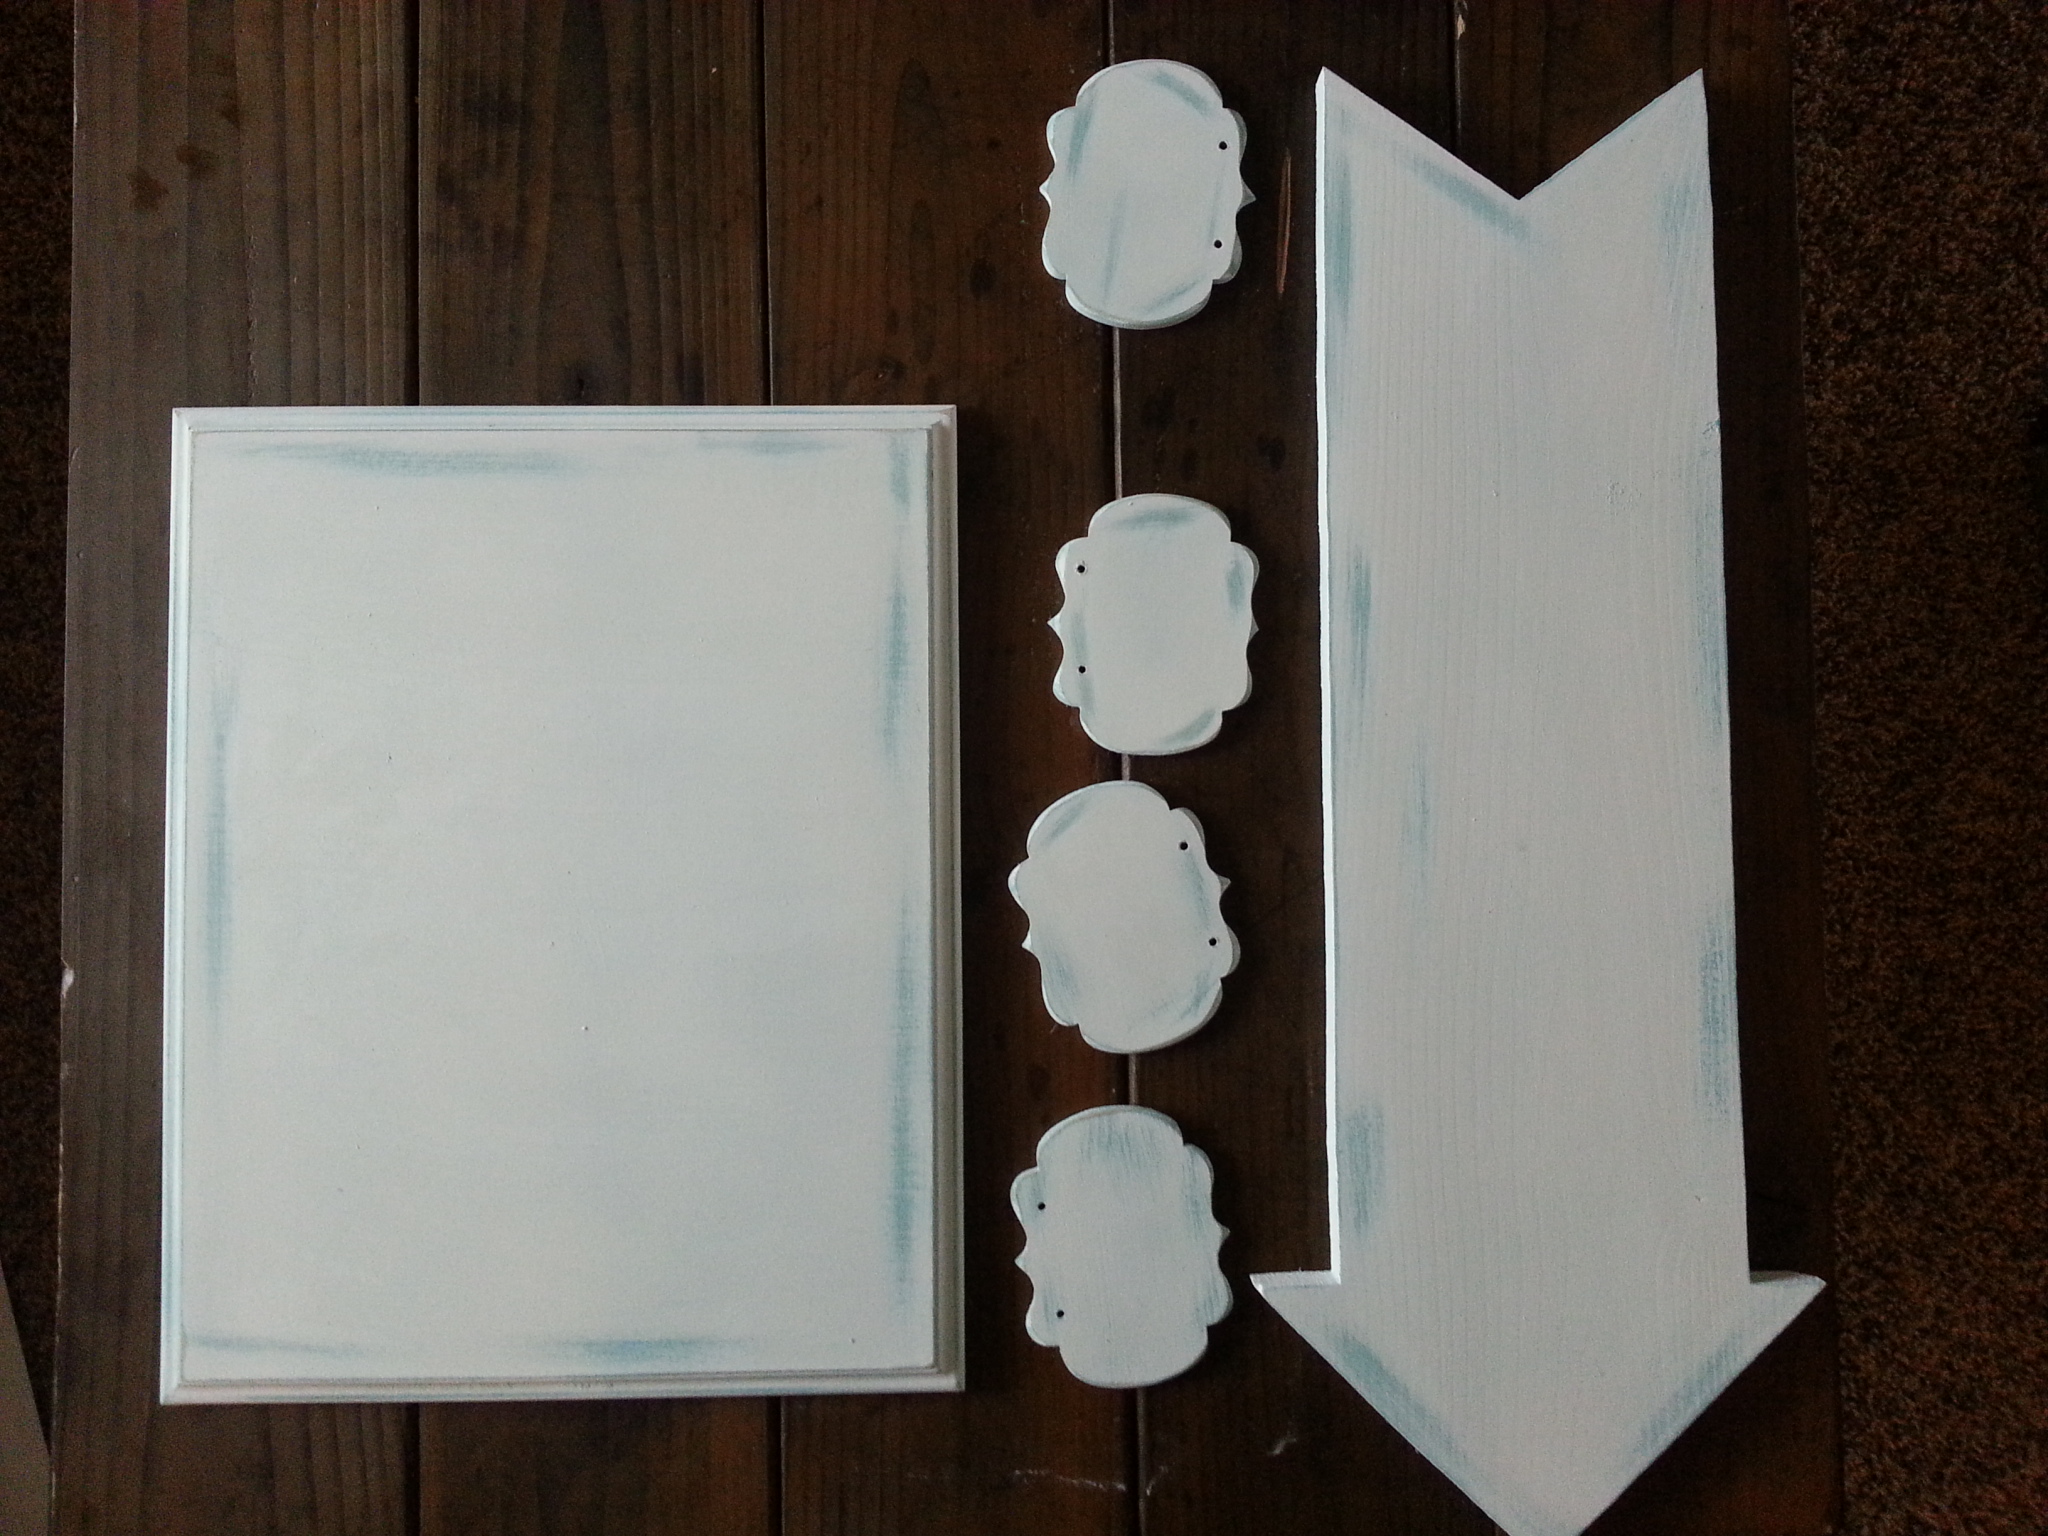
Step 3: After both coats have dried completely, sand out random spots where you’d like the base color to show through (see above)
Step 4: Apply chalkboard contact paper….I cut mine using my silhouette cameo, but you can easily use scissors…the contact paper has a grid on the back that makes it easy for the sign and menu board, for the oval, I will provide a full size image you can use as a guide or stencil…just make sure you print it at 100%
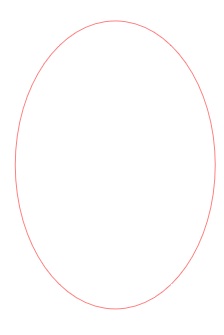
Save pic above if you would like to use it as a label guide for your chalkboard vinyl on the small labels (print @ 100%)
I used a nail gun to attach the post to my sign, but you could probably use a hammer and nail with some wood glue.
I just attached my clothespins with hot glue….
I think that’s it! Simple and fun! We had the classiest lemonade stand around and my daughter was thrilled with her earnings. (Notice that we used the label from our last wood connection post on the lemonade!) You could use this set (sign, menu board, and labels) for so many applications! I really wish I would have had it when I hosted bunco night and had a mini fruit pizza bar! 🙂
To enter the giveaway for the $25 gift certificate, please leave a comment by Sunday, June 16th @ 12:00 a.m.! That’s it! 🙂 (Don’t you love easy contest entries)
If you are feeling extra nice…pin some stuff 🙂 Winner will be announced on the 17th.


Christina
I do so appreciate the easy entry giveaway! I love your idea! Perfect for quick labeling at parties! I have one coming up… So it would be awesome to win! Then I could copy your idea for free 😉
Jessica
That is such a cute and easy idea! It would be so handy to have little signs like that…I can think of so many uses!
Jennifer Day
Love the cute stand! So cute and I will need to copy. Thanks for the chance!
Lydia
This idea is only made better by that cute little curly haired girl and your cute painted toes in the “pretty seagreenish color” picture:)
Jordan Page
Cute craft Michelle! I’d love to win!
Moriah
Your ideas are always adorable!!
Wendy
This is such a cute idea. What a fun summer activity. It made the cutest lemonade stand I’ve seen.
Valerie
Love the idea! I really like that it is a cute way to label, without recreating every single time! Well done!
Elizabeth Furness
Those are all so cute Michelle…I would have stopped and bought lemonade at that lemonade stand for sure 🙂
paula w
What A Cut Idea- Such A Fun Summertime Project.
Britt
Love it! I’ve never heard of chalkboard contact paper, excited to try it out!
Melissa S.
Thank you for your ideas! the tags are darling.
Emily
Looks super cute…just wish my handwriting was cute like yours so my projects would turn out like that!