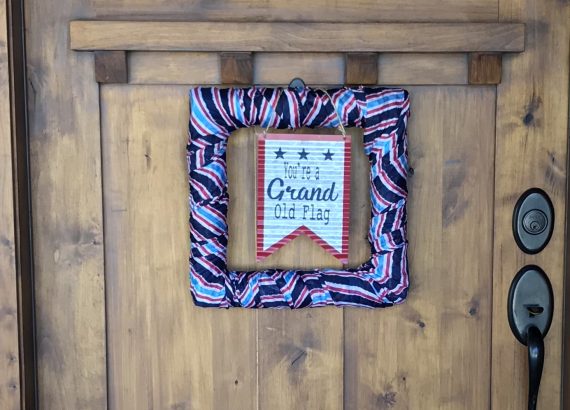


Glass Christmas Frame
It’s the big day…my first post. It’s taken me 4 months of being too chicken to actually start. The website is nowhere near ready and I have no idea what I’m doing, but my head is swimming with ideas so I decided that it is time to get er going. My photography will improve, once I learn how to use this beast of a camera my husband purchased (Nikon D200)…oh, and hire HIM to take the pictures 🙂
As I was doing my regular perusal of the dollar store yesterday, I came across these glass frames that I haven’t noticed before. I immediately had an idea in mind that involves two simple steps (maybe three, if we’re getting technical) from start to finish!

1: Pull off paper photo inserts from back

Optional Step: Remove foam residue with razor…or if you are more patient than me, it might come off with step one.
2: Apply Vinyl (a cricut or silhouette helps with this step…I mirrored it so I could apply my vinyl to the back side of the frame)

Oh…I just realized I am missing the dot for my “i” on “still”…oh well, you get the picture. I’ll fix it….later 🙂
Voila! A beautiful decoration for Christmas for a whopping $1+vinyl. Of course, the possibilites are endless (with that silver on the front I’m thinking something with snowflakes and a blue accent would be pretty. You could leave the paper photo inserts and use scrapbook paper as your background). If you make a creation using this frame as a base…e-mail me a pic, I’d love to see!